
Command-line Runner
You can now run all of your Selenium IDE tests on any browser, in parallel, and on a Grid without needing to write any code.
There's just the small matter of installing the Selenium IDE command line runner, getting the necessary browser drivers (if running your tests locally), and launching the runner from a command prompt with the options you want.
Prerequisites
The following dependencies are needed for the command line runner to work:
node(the Node.js programming language) version8or10npm(the NodeJS package manager) which typically gets installed withnodeselenium-side-runner(the Selenium IDE command line runner)- and the browser driver we want to use (more on that in the next section)
> brew install node
> npm install -g selenium-side-runner
NOTE: Your system configuration may differ from what's used in the sample above (e.g., Homebrew on MacOS). If so, see the Node installation documentation for package managers or download a Node installer for your operating system directly from the Node downloads page.
Installing a browser driver
If you want to run your tests locally there is some additional setup required for each browser.
Selenium communicates with each browser through a small binary application called a browser driver. Each browser has its own which you can either download and add to your system path manually, or, you can use a package manager to install the latest version of the browser driver (recommended).
You'll also need to have the browser installed on your machine.
Chrome
For Chrome, you'll need ChromeDriver.
> npm install -g chromedriver
Edge
For Microsoft Edge, you'll need to be running on Windows, and you'll also need EdgeDriver.
> npm install -g edgedriver
Firefox
For Firefox, you'll need geckodriver.
> npm install -g geckodriver
Internet Explorer
For Internet Explorer, you'll need to be running on Windows, and you'll also need IEDriver.
> npm install -g iedriver
There's some additional setup required for IEDriver to work. Details avaialble here.
Safari
For Safari, you'll need SafariDriver.
It ships with the latest version of Safari. There are just a few steps you'll need to take to enable it on your machine. See this section of the SafariDriver documentation for details.
Launching the runner
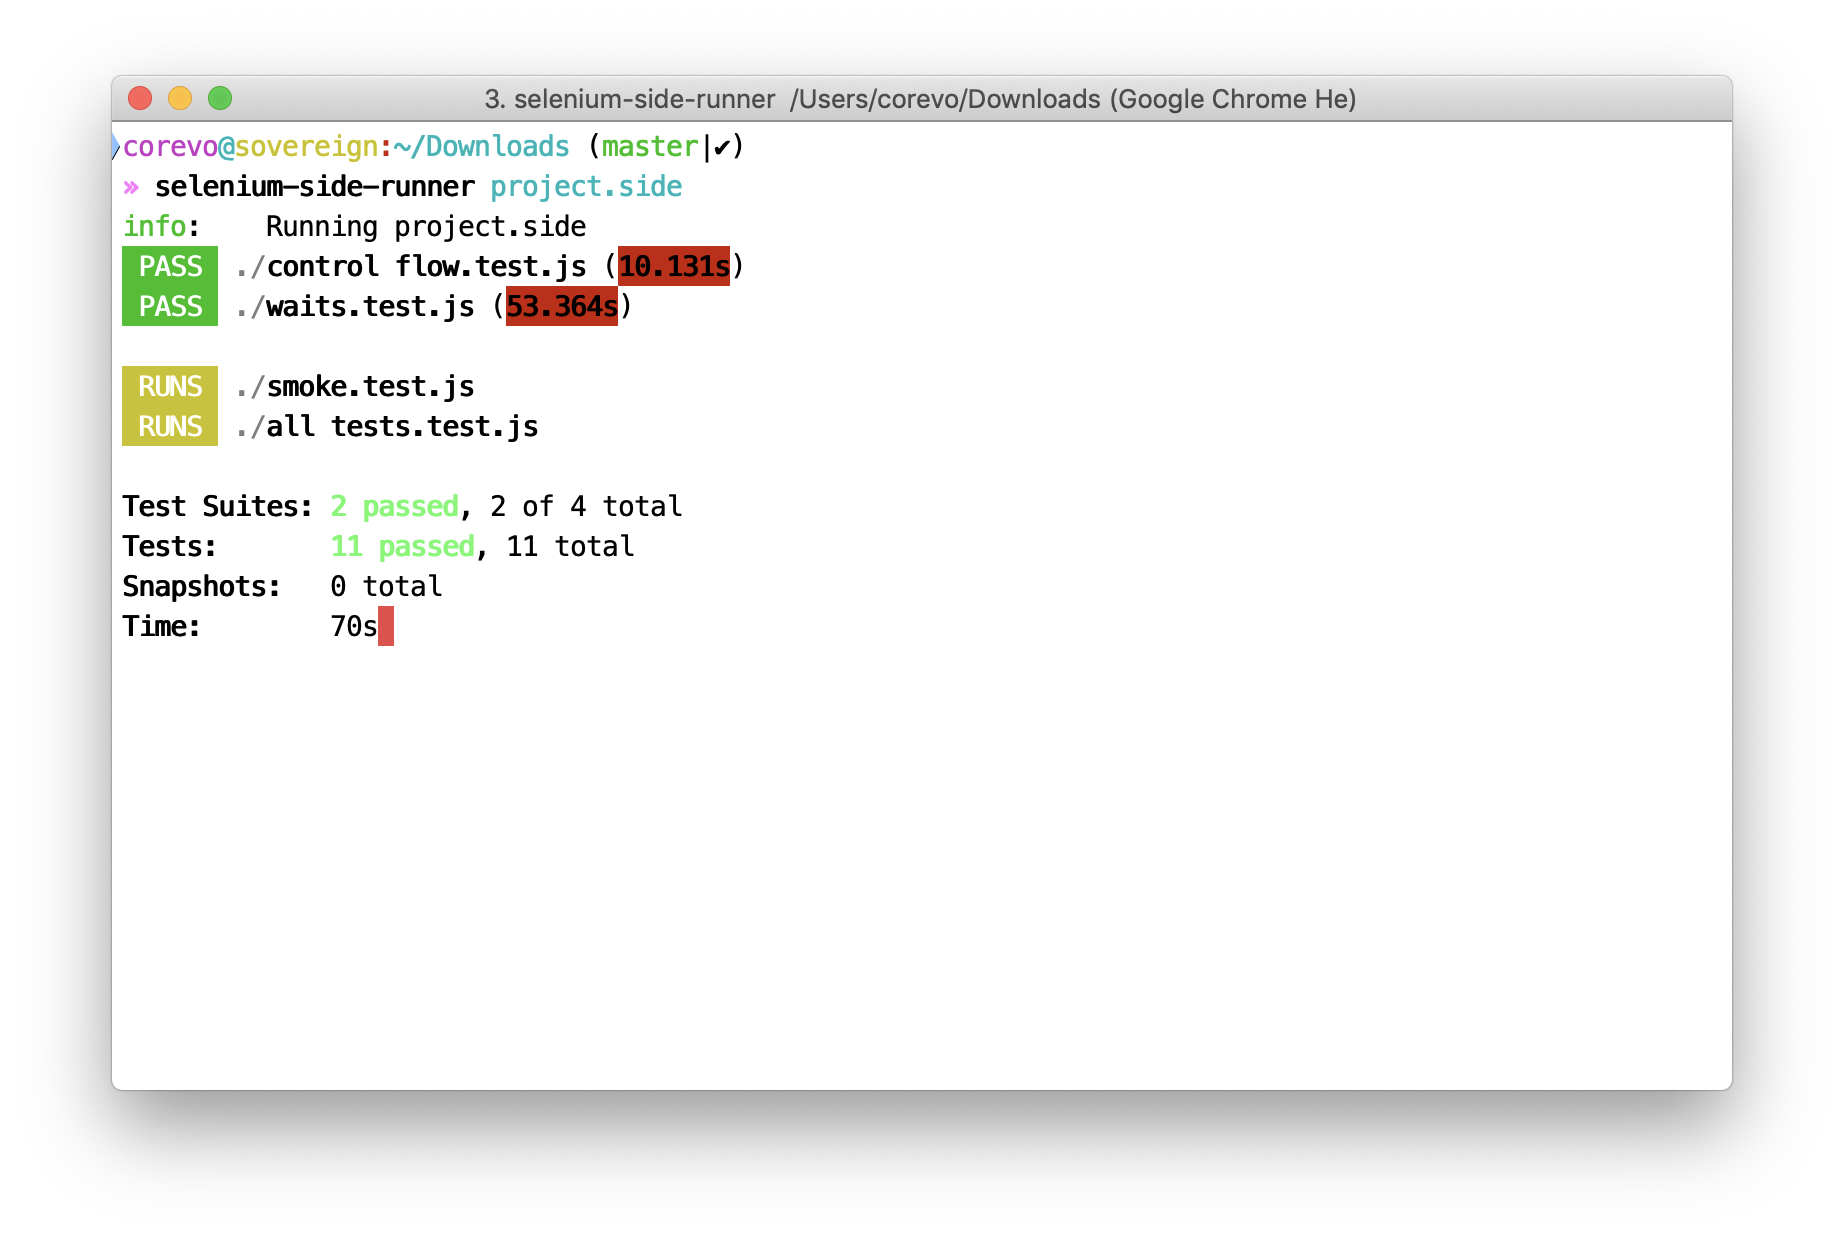
Once everything's installed, running your tests is a simple matter of calling selenium-side-runner from the command-line followed by the path to the project file saved earlier (see Getting Started).
> selenium-side-runner /path/to/your-project.side
NOTE: If you have multiple .side files you can use a wildcard (e.g., /path/to/*.side).
When you run this command it will launch your tests in parallel, in multiple browser windows, spread across n processes (where n is the number of available CPU cores on your machine).
The number of processes is configurable (amongst other things) at run time through various arguments you can provide.
NOTE: Parallel execution happens automatically at the suite level. If you want the tests within a suite to be executed in parallel, there is a setting you'll need to change. See Test Parallelization In A Suite for details.
Run-time configuration
With the runner you have the ability to pass in different configuration arguments at run time.
Running on a different browser locally
The most common use of capabilities is to specify a different browser for local test execution.
selenium-side-runner -c "browserName=chrome"
selenium-side-runner -c "browserName='internet explorer'"
selenium-side-runner -c "browserName=edge"
selenium-side-runner -c "browserName=firefox"
selenium-side-runner -c "browserName=safari"
NOTE: When running tests locally, some setup is required for each browser. See Installing a browser driver for details.
Running on Selenium Grid
To run your tests on a Grid (e.g., your own Grid or on a hosted provider like Sauce Labs) you can specify that along with different capabilities.
selenium-side-runner --server http://localhost:4444/wd/hub -c "browserName='internet explorer' version='11.0' platform='Windows 8.1'"
--server specifies the URL to the Grid, and -c are the capabilities you'd like the Grid to use.
You can see a full list of the available capabilities here.
Specify the number of parallel processes
When running on a Grid you will likely want to control how many parallel sessions you are running. For that you can use the -w n command flag (where n is the number of processes you want).
selenium-side-runner -w 10 --server http://localhost:4444/wd/hub
The runner will automatically set the number of workers to the same number of CPU cores available on your computer. In most cases this is the best option.
Chrome specific capabilities
If you have Chrome installed in a non-standard location on your machine you can specify the path so ChromeDriver knows where to look.
selenium-side-runner -c "goog:chromeOptions.binary='/path/to/non-standard/Chrome/install'"
With Chrome specific capabilities you can also run the tests headlessly.
selenium-side-runner -c "goog:chromeOptions.args=[disable-infobars, headless]"
A framework at your fingertips
There are also other niceties that come out of the box with the runner. Things you would expect to be available in a traditional test automation framework.
Change the base URL
With the ability to specify a different base URL you can easily point your tests at different environments (e.g., local dev, test, staging, production).
selenium-side-runner --base-url https://localhost
Filter tests
You also have the option to run a targeted subset of your tests with the --filter target command flag (where target is a regular expression value). Test names that contain the given search criteria will be the only ones run.
selenium-side-runner --filter smoke
Output test results to a file
If you need to export test results to a file (like when running as part of a CI process for example), you can use a combination of the --output-directory and --output-format flags.
--output-directory defines where to put test result files. It can take either an absolute or relative path.
--output-format defines which format to use for the test result file. It can either be jest (e.g., JSON) or junit (e.g., XML). The default format is jest (e.g., if you don't specify a type).
selenium-side-runner --output-directory=results
# Outputs results in `jest` frormat in `./results/projectName.json'
selenium-side-runner --output-directory=results --output-format=jest
# Outputs results in `jest` frormat in `./results/projectName.json'
selenium-side-runner --output-directory=results --output-format=junit
# Outputs results in `junit` frormat in `./results/projectName.xml'
Specify a default configuration
Rather than remembering all of the command-line arguments you need (which can become unwieldy), you have the ability to store your run-time parameters in a configuration file.
There are two kinds of configuration files that you can use.
Option 1
Create a .side.yml file in the directory you'll be running your tests from. The runner will pick it up automatically. Here is an example of the file's contents.
capabilities:
  browserName: "firefox"
baseUrl: "https://www.seleniumhq.org"
server: "http://localhost:4444/wd/hub"
If you want to ignore the file and use command line arguments instead, use --no-sideyml along with your other commands at run time.
Option 2
Alternative to using a .side.yml file, you can specify your run-time parameters in a YAML file with a name and location of your choosing, and then specify its location when running your tests.
selenium-side-runner --config-file "/path/to/your/config.yaml"
NOTE: When using the --config-file flag, the .side.yml will be ignored.
Selenium IDE Configuration
Test parallelization in a suite
Out of the box, the runner executes suites in parallel, but tests within a suite are executed sequentially.
To run tests in a given suite in parallel, you'll need to update the settings for that suite in Selenium IDE.
- Switch to the
Test Suitesview in Selenium IDE - Click the drop-down menu next to the name of the suite you'd like to configure and click
Settings - Click the checkbox for
Run in parallel - Click
Submit - Save your Selenium IDE project file
To configure more than one suite to run this way, repeat steps 1-4 in each suite. Be sure to save the project file once you're done.
Advanced options
Additional params
Plugins for Selenium IDE can specify their own unique run-time parameters. You can make use of them through the --params flag.
This options takes a string of the various options (similar to how you specify capabilities).
Basic Usage
You specify the name of the parameter and its value. The most basic way to do this is by specifying a string value.
selenium-side-runner --params "a='example-value'"
Nested parameters
Parameters can also be nested using dot-notation.
selenium-side-runner --params "a.b='another example-value'"
Array values
Alternative to strings, you can specify an array of alpha-numeric values.
selenium-side-runner --params "a.b.c=[1,2,3]"
Multiple parameters
--params can only be called once, but you can specify multiple parameters through space separation.
selenium-side-runner --params "a='example-value' a.b='another example-value' a.b.c=[1,2,3]"
Using a proxy server
You can pass proxy capabilities to the browser using the following options in the runner.
Direct proxy
This option configures WebDriver to bypass all browser proxies.
From the command-line:
> selenium-side-runner --proxy-type=direct
In .side.yaml:
proxyType: direct
Manual proxy
Manually configure the browser proxy.
From the command-line:
selenium-side-runner --proxy-type=manual --proxy-options="http=localhost:434 bypass=[http://localhost:434, http://localhost:8080]"
In .side.yaml:
proxyType: manual
proxyOptions:
  http: http://localhost:434
  https: http://localhost:434
  ftp: http://localhost:434
  bypass:
    - http://localhost:8080
    - http://host:434
    - http://somethingelse:32
PAC proxy
Configure WebDriver to set the browser proxy using the PAC file at the given URL.
From the command-line:
selenium-side-runner --proxy-type=pac --proxy-options="http://localhost/pac"
In .side.yaml:
proxyType: pac
proxyOptions: http://localhost/pac
SOCKS proxy
Create a proxy configuration for a SOCKS proxy.
From the command-line:
selenium-side-runner --proxy-type=socks --proxy-options="socksProxy=localhost:434 socksVersion=5"
In .side.yaml:
proxyType: socks
proxyOptions:
  socksProxy: localhost:434
  socksVersion: 5
System proxy
Configure WebDriver to use the current system's proxy.
From the command-line:
selenium-side-runner --proxy-type=system
In .side.yaml:
proxyType: system
Code export
If you're trying to learn how to translate recorded tests into WebDriver code, or if you want to integrate recorded tests into an existing custom test framework, then what you need is code export which is now available for select languages. You can learn more here!